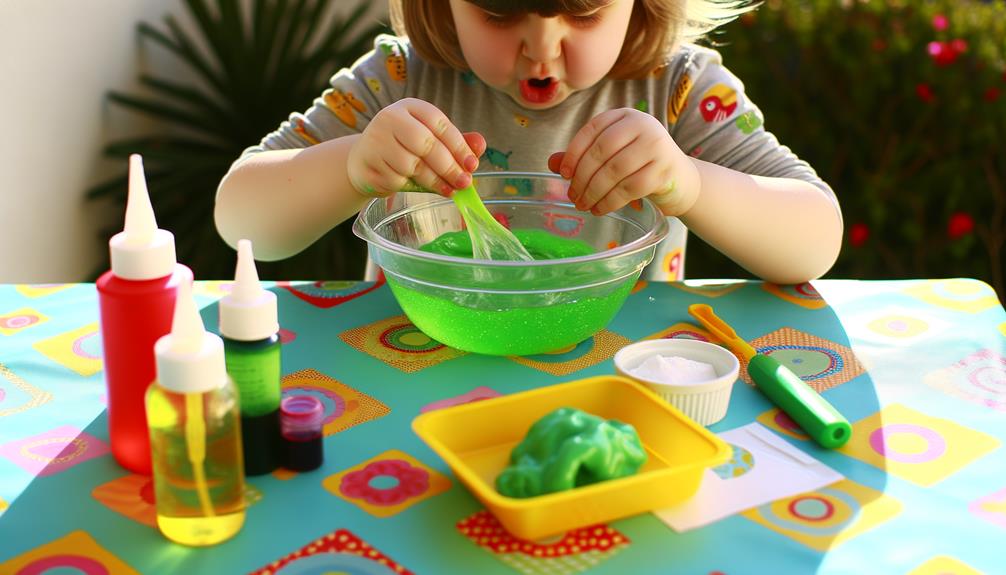
Get ready to make magic with this super fun slime recipe! You'll need Elmer's white glue, contact lens solution, baking soda, and your favorite food coloring. Mix that glue with warm water, add a sprinkle of baking soda, then let the contact solution join the party. Stir it up, drop in the color, and knead until it's just right. Watch as it turns into a jiggly, stretchy joy! But remember, the perfect consistency takes practice and tweaks, so don't be discouraged. Don't stop here, there's plenty more ooey-gooey fun to be had if you stick around!
Slime's Origin Story
Let's immerse ourselves in the intriguing origin story of slime, initially developed by Mattel in the 1970s and appropriately named 'Gak.' This gooey, stretchy substance was first marketed as a toy, capturing the hearts of kids with its unique texture. Slime was more than just a toy; it was a tactile plaything that children couldn't get enough of. Its elasticity, its squishy feel, and its ability to morph into various shapes made it a sensational hit.
Fast forward a few decades, and slime hasn't only remained a popular toy but has also become a viral trend. Homemade slime recipes started popping up everywhere, thanks to the magic of social media. DIY enthusiasts found joy in creating their own versions of this classic toy, adding a personal touch with various colors and add-ins.
The DIY slime community continues to expand, with countless variations and techniques to explore. From glow-in-the-dark slime to glitter-infused concoctions, the possibilities are endless. Crafty folks have turned a simple plaything into an art form, making slime not just a toy, but a creative outlet. It's fascinating to see how this gooey, stretchy substance has evolved over the years.
Essential Slime Components
Moving on from the history of slime, it's time to roll up our sleeves and examine the key components that go into making your own batch of this playful goo. The essential components are surprisingly simple: Elmer's white glue, baking soda, and contact lens solution.
I'd highly recommend gathering all your ingredients before beginning. It's vital to follow the right mixing order for the best results. You can't just chuck everything in at once and hope for the best.
Here's a handy table to help you out:
| Essential Component | Purpose | Safety Precaution |
|---|---|---|
| Elmer's White Glue | Base | Non-Toxic |
| Contact Lens Solution | Activator | Avoid Eye Contact |
| Baking Soda | Thickener | Ingestion Hazard |
| Food Coloring | Customize | Avoid Skin Contact |
Remember, kneading the mixture is just as important. It helps achieve that perfect, stretchy consistency.
And don't forget about storage. Proper storage can extend your slime's life and prevent it from drying out. Store it in a sealed container in a cool, dry place.
Lastly, make sure you're following safety precautions. Use gloves, protect your work surface, and never ingest any of the components. Happy sliming!
Slime Creation Process
Diving into the slime creation process, you'll find that it's a fun and straightforward activity that starts with mixing PVA school glue and warm water. This forms your base, which you'll then combine with an activator like borax. This is where the magic starts happening!
As you add the activator bit by bit, the mixture starts morphing into the stretchy goo we call slime. This is where the texture and consistency play a significant role. You'll know you hit the right mark when the slime detaches from the sides of your bowl. Be careful though, it's easy to get carried away and risk over-activating.
Now for the fun part:
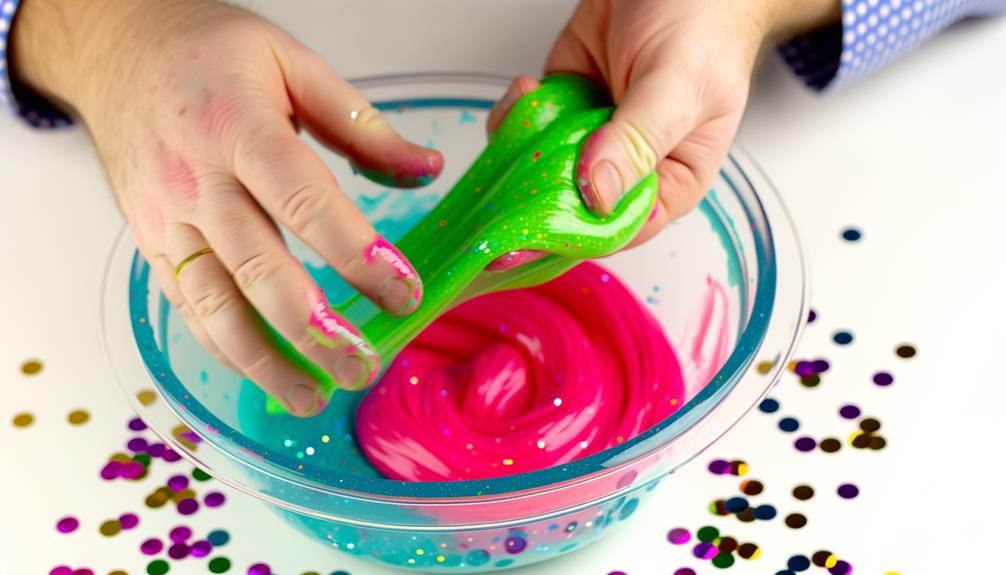
- Making it your own by adding coloring. Go wild with food dyes or acrylic paints.
- Testing it out. Poke it, stretch it, squish it to your heart's content.
- Storing it properly. An airtight container is key to maintaining that perfect slime consistency.
Expert Tips
Now, let's delve into some serious slime business – the expert tips.
I'm going to share with you how to select the right ingredients, guarantee safety while making, and achieve the perfect slime consistency.
Trust me, these tips will elevate your slime making game to a whole new level!
Choosing Right Ingredients
When it comes to making perfect slime, I recommend choosing PVA school glue for the best consistency and texture. Elmers School glue is a great choice.
The basic recipe involves a glue mixture combined with a slime activator, like a borax solution. Adjust the activator quantity for the ideal consistency. Too much, and it's over-activated!
You can add a bit of shaving cream for a fluffy touch. Liquid food coloring will give your slime a vibrant look. And here's a secret: a few drops of contact lens solution can make your slime stretchier.
Safety While Making
In the midst of all the fun, it's crucial to prioritize safety during the slime-making process. I can't emphasize enough the importance of supervision, especially with children. Those tiny hands love to explore, but some ingredients can be harmful if mishandled.
If you've got sensitive skin like me, don some gloves before you begin. Some ingredients may cause irritation and we don't want that. And speaking of ingredients, make sure they're out of reach from pets and younger children.
Work in a well-ventilated area, folks. It helps to keep the air fresh and free from potentially harmful fumes. Once you're done, wash your hands thoroughly. Safety first, always! Remember, we're aiming for fun, not hazards.
Perfect Slime Consistency
Having covered safety measures, let's make sure we get our slime's consistency just right, because who wants a gooey mess or a rubbery blob, right?
The best Slime Recipes stress on the importance of the right amount of contact solution. Too much can over-activate your slime, making it rubbery. Instead, add it gradually for a fluffy consistency.
Don't forget to wear gloves while handling boric acid and sodium. When it's time to add your food coloring, go slow. You can always add more, but can't take back.
The amount of shaving cream also determines how fluffy your slime gets. Remember, making slime is an art. It's all about balance and patience. So, let's get sliming!
Final Thoughts
Playing with the ratios of shaving cream in your fluffy slime recipe can lead to a fascinating range of textures and consistency. It's a fun process, almost like a science experiment, where you can witness how the fluffiness of your slime changes based on your input. But, it's important to follow proper instructions. You can't just wing it and hope for the best. If the recipe isn't followed correctly, your fluffy slime might end up being just regular slime, or worse, a gloppy mess.
Over time, you might notice that your slime's fluffiness settles down a bit. It's just the nature of the beast. Your fluffy slime will eventually lose some of its airiness and might even go back to being regular slime. But don't worry, you can prolong its lifespan by storing it in an airtight container. This can keep it fluffy and enjoyable for at least a week.
In the end, making fluffy slime is all about exploration and enjoyment, from playing with shaving cream ratios to feeling the unique texture in your hands. It might take a few tries, but the fun is in the journey. Happy slime-making!