Magic Bars, folks, are the bee's knees of easy, delectable desserts originating from mid-20th century America. They're a pileup of yum: graham cracker crust, chocolate chips, butterscotch chips, pecans, coconut and drizzled condensed milk. Craft your bars by simply setting your oven to 350°F, layering up your chosen ingredients, and baking until golden brown. Let 'em cool, cut, and you're in flavor heaven! The beauty? Swap in your favorite biscuit, maybe try dark chocolate, or even flavoured condensed milk. The options are endless. Stick around, there's plenty more where that came from!
Origins of Magic Bars
Delving into the history of Magic Bars, we find their roots deeply embedded in mid-20th century America, charming taste buds for decades with their layered dessert decadence. Known by many names such as 7-layer bars or Hello Dolly bars, these treats have become an iconic part of American desserts. The allure of these bars lies in the symphony of flavors created by stacking up ingredients like graham cracker crust, chocolate chips, butterscotch chips, pecans, and coconut, all held together by a luscious layer of sweetened condensed milk.
The versatility of Magic Bars is another key to their enduring popularity. I've seen countless recipe variations, with some swapping out traditional ingredients for others like white chocolate chips or macadamia nuts, proving the recipe's adaptability.
Over the years, the love for Magic Bars has only grown, inspiring numerous adaptations and twists on the original recipe. From classic family gatherings to trendy bakeries, these bars continue to be a beloved choice. Their rich history and the ability to customize have ensured Magic Bars remain a timeless delight, capturing hearts and satisfying sweet tooths across generations.
Main Components of Magic Bars
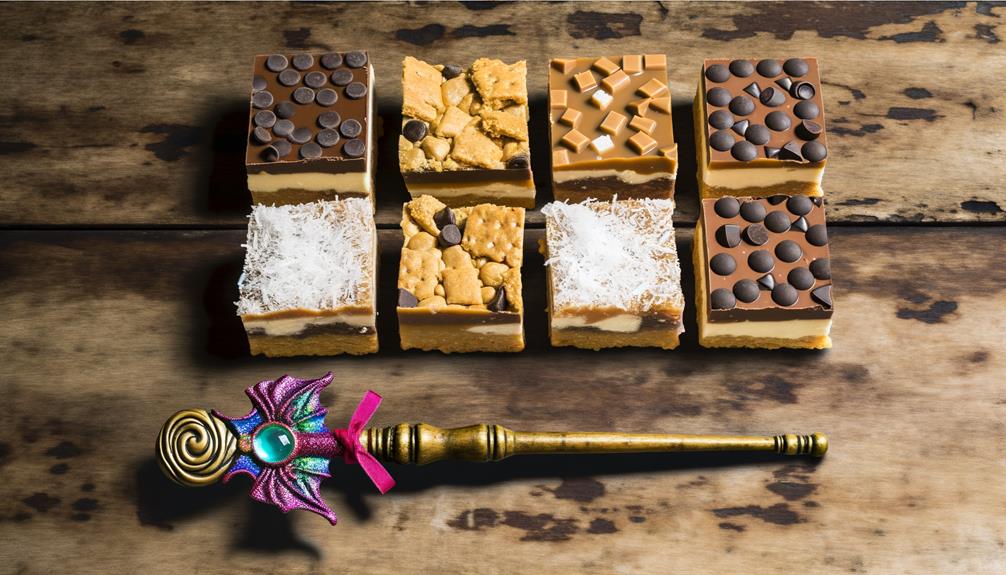
Often, the magic in Magic Bars comes from their simple yet scrumptious components that include a graham cracker crust, a mix of chocolate chips, butterscotch chips, pecans, and coconut, all bound together by sweetened condensed milk. This charming medley of ingredients brings together a variety of flavors and textures that make these dessert bars an absolute treat.
What's more, these bars are highly customizable. You can switch out the butterscotch chips for white chocolate, swap pecans for walnuts, or even use a cookie crumb base in place of the graham cracker crust. The possibilities are endless!
Here's a quick rundown of the main components of Magic Bars, also known as 7-layer bars or Hello Dolly Bars:
| Base Layer | Toppings | Binder |
|---|---|---|
| Graham cracker crust | Chocolate chips, butterscotch chips, pecans, coconut | Sweetened condensed milk |
Magic Bars Preparation Guide
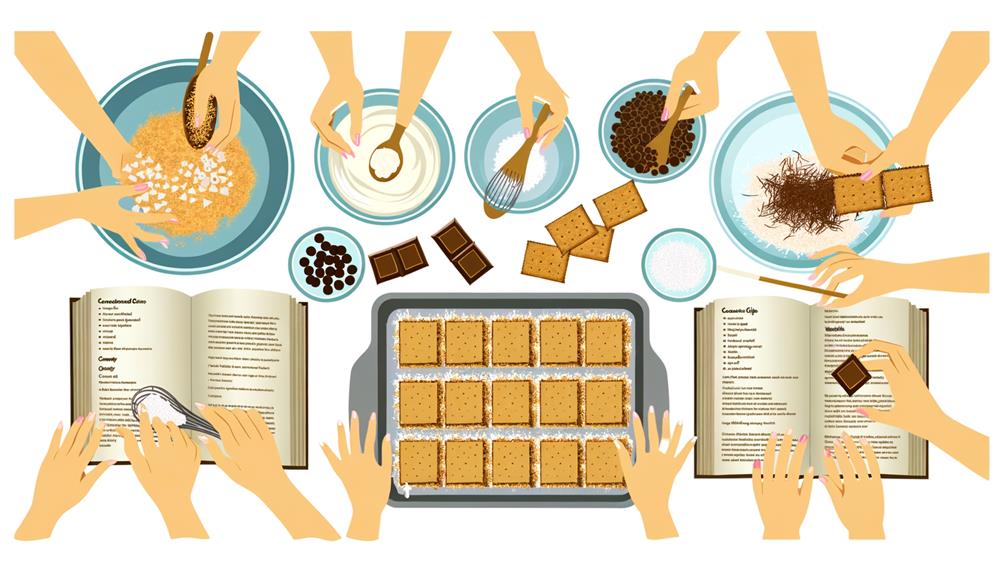
Let's dive right into preparing magic bars, starting with preheating your oven to 350°F and lining a baking pan with parchment paper. The magic of these bars is in the layers, each one contributing to a symphony of textures and flavors.
Here's a step-by-step guide:
- Begin by making the graham cracker crust. This forms the base of our Magic Bars Recipe. Simply mix crushed graham crackers with melted butter and press the mixture into the bottom of your baking pan.
- Next, sprinkle on the chocolate chips. You can use semi-sweet, dark, or even white chocolate chips for different flavor profiles.
- The third layer consists of shredded coconut, which adds a tropical touch to the bars.
Finally, chopped nuts add crunch and the sweetened condensed milk binds everything together. Pour it evenly over the layers, ensuring it seeps into the crevices.
Bake the magic bars until they're golden brown, typically around 25 to 30 minutes. After baking, it's important to let the bars cool completely before cutting. The result is a treat that's absolutely magical in taste and texture. Enjoy these magic bars as a delightful indulgence.
Expert Tips
Now, let's get into some expert tips for making these magic bars.
We'll discuss everything from baking process tips, ingredient substitution ideas, to storage and freezing advice.
I promise, these tips are going to take your magic bars to a new level of deliciousness!
Baking Process Tips
Wondering how to get the perfect crust for your magic bars? It all starts with a Graham cracker crust. Press it down firmly with a fork in your 9×13-inch baking pan. This size is perfect for even layering.
Before you reach for a knife, make sure your bars are completely cool. This simple step prevents crumbling.
Now, let's talk toppings customization. I love experimenting with different nuts and fruits. They add unique flavors and textures. Drizzle a generous amount of condensed milk over your toppings. It's a game-changer.
Just remember, patience is key. Allow your magic bars to rest before serving. Follow these tips and you'll master the art of making magic bars in no time.
Ingredient Substitution Ideas
While experimenting with toppings can certainly add a fun twist to your magic bars, swapping out key ingredients can also bring a whole new flavor dimension to this classic dessert.
For instance, you can substitute Graham crackers with your favorite biscuit for a personalized base. Love chocolate? Swap out the usual chocolate chips with milk or dark ones. Not a fan of butterscotch chips? Try peanut butter chips or even a mix of different baking chips for a unique flavor profile.
Sweetened condensed milk is essential, but try using a flavored variety for a twist. If you're not big on shredded coconut, simply omit it. And if white chocolate chips tickle your fancy, go ahead and add them.
Storage and Freezing Advice
To maintain your magic bars tasting fresh and delicious, it's crucial to store them correctly, and fortunately, they can be kept at room temperature in an airtight container for up to five days. If you're in warmer climates, consider refrigeration. It won't change the texture or taste of your Magic Cookie Bars.
For longer periods, freezing is a great choice. Just remember to thaw them before serving. If you're in a rush and decide to use the microwave, avoid over-heating as it can affect the texture.
Final Thoughts
In conclusion, I can't stress enough the delightful versatility and simplicity of making magic bars; you can customize them with your choice of nuts, coconuts, or baking chips and they're easy to store, too. The graham cracker crust forms a firm base, sweetened condensed milk binds the ingredients together, and chocolate chips, coconut, and your chosen nuts provide a range of flavors and textures.
This recipe is so customizable, it's a joy to experiment with. I've tried white chocolate chips, macadamia nuts, even a sprinkle of sea salt on top for a sweet and salty twist. Recipe variations are endless, allowing you to create your perfect magic bar.
These bars are easy to make, with a layered approach that's straightforward and fun. The decadent toppings melt together in the oven, creating a bar that's gooey, crunchy, and utterly delicious. And the storage tip? Simple. Keep them in an airtight container at room temperature, or in the fridge if it's a hot day.
Creating magic bars is a culinary adventure, a journey into the heart of baking where simplicity meets versatility. So go ahead, explore, experiment, and enjoy the magic!